Estimated reading time: 9 minutes
Introduction: Your Journey into Music Production Begins Here
Have you ever found yourself tapping along to a beat, imagining melodies, or dreaming of creating your own music? If so, you’re in the right place. Welcome to the exciting world of music production! Whether you’re a bedroom producer just starting out or an aspiring artist looking to take your craft to the next level, this comprehensive guide is designed to help you navigate the sometimes overwhelming landscape of music production.
In this blog post, we’ll explore a range of music production tips tailored specifically for beginners. From setting up your first home studio to understanding the basics of digital audio workstations (DAWs), mixing techniques, and even dipping our toes into the waters of mastering, we’ve got you covered. So, grab your headphones, and let’s dive in!
Table of contents
- Introduction: Your Journey into Music Production Begins Here
- Setting Up Your Home Studio: The Foundation of Your Musical Journey
- Choosing the Right DAW: Your Digital Canvas
- Getting to Know Your DAW: The Basics
- Audio Recording Basics: Capturing the Perfect Sound
- The Art of Arrangement: Crafting Your Musical Story
- Mixing Techniques: Bringing Your Tracks to Life
- Sound Design Basics: Creating Unique Sonic Textures
- Mastering for Beginners: The Final Polish
- Workflow Tips: Maximizing Your Productivity
- Video: 10 Music Production Tips for Beginners
- Conclusion: Your Musical Journey Awaits
- FAQs
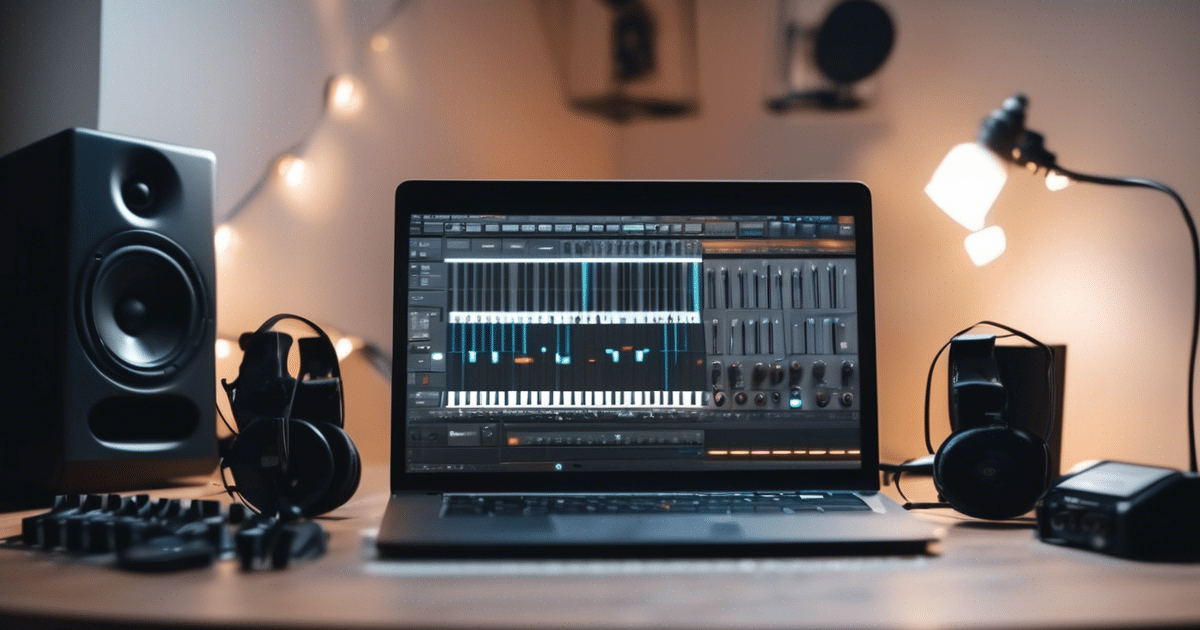
Setting Up Your Home Studio: The Foundation of Your Musical Journey
Choosing the Right Space
Before we even think about equipment, let’s talk about space. Your home studio doesn’t need to be fancy, but it should be a place where you feel comfortable and inspired. Here are a few tips to consider:
- Find a quiet area: Look for a room with minimal outside noise.
- Consider acoustics: Avoid rooms with lots of hard, flat surfaces that can cause sound reflections.
- Comfort is key: You’ll be spending hours here, so make sure it’s a space you enjoy being in.
Essential Equipment for Beginners
Now, let’s talk gear. While it’s tempting to go all out, remember that you don’t need top-of-the-line equipment to start producing great music. Here’s a basic setup to get you started:
- Computer: The heart of your digital studio.
- Audio Interface: Connects your instruments and microphones to your computer.
- DAW (Digital Audio Workstation): Software for recording, editing, and mixing music.
- Studio Monitors or Headphones: For accurate sound reproduction.
- MIDI Controller: A keyboard or pad controller for playing and programming virtual instruments.
Pro Tip: Start with the basics and upgrade as you grow. It’s more important to learn your equipment inside and out than to have the most expensive gear.
Choosing the Right DAW: Your Digital Canvas
Selecting a DAW is like choosing a musical instrument. It’s personal, and what works for one producer might not work for another. Here are some popular options for beginners:
- GarageBand (Mac): Free and great for beginners.
- FL Studio: Known for its intuitive interface and beat-making capabilities.
- Ableton Live: Popular for electronic music and live performances.
- Logic Pro X (Mac): A professional-grade DAW with a gentle learning curve.
- Pro Tools: Industry standard for recording and post-production.
Take advantage of free trials to find the DAW that feels most intuitive to you. Remember, the best DAW is the one you’re most comfortable using.
Getting to Know Your DAW: The Basics
Once you’ve chosen your DAW, it’s time to familiarize yourself with its layout and basic functions. Most DAWs share some common elements:
Track Types
- Audio Tracks: For recording and manipulating audio files.
- MIDI Tracks: For recording and editing MIDI data (used with virtual instruments).
- Instrument Tracks: A combination of MIDI and audio, allowing you to record MIDI and hear it through a virtual instrument.
Essential Tools
- Transport Controls: Play, stop, record, and navigate through your project.
- Mixer: Adjust volume levels, panning, and effects for each track.
- Piano Roll: Edit MIDI notes visually.
- Effects Rack: Add and adjust audio effects like reverb, delay, and compression.
Spend time exploring these features. The more familiar you are with your DAW, the more efficiently you’ll be able to translate your musical ideas into reality.
Audio Recording Basics: Capturing the Perfect Sound
Whether you’re recording vocals, guitars, or any other instrument, good recording technique is crucial. Here are some basics to keep in mind:
Microphone Placement
- Experiment with distance and angle to find the sweet spot.
- Be aware of the proximity effect (bass boost when close to the mic).
- Use pop filters for vocal recordings to reduce plosives.

Setting Levels
- Aim for peaks around -6 to -12 dB to avoid clipping.
- Use your DAW’s metering tools to monitor levels.
- Remember, it’s better to record too quiet than too loud – you can always increase volume later, but you can’t fix a clipped recording.
Creating the Right Environment
- Use acoustic treatments if possible (even DIY solutions can help).
- Be mindful of background noise.
- Consider recording at night when ambient noise is usually lower.
The Art of Arrangement: Crafting Your Musical Story
Arrangement is where your song starts to take shape. It’s about deciding which instruments play when, and how they interact with each other. Here are some tips to help you arrange your tracks:
Start with a Strong Foundation
- Begin with the core elements of your song (e.g., drums, bass, chords).
- Build other elements around this foundation.
Create Contrast
- Use dynamics to create excitement and interest.
- Don’t be afraid of silence – sometimes what you don’t play is as important as what you do.
Think in Sections
- Organize your song into distinct sections (intro, verse, chorus, bridge, etc.).
- Use transitional elements to move smoothly between sections.
Layer Thoughtfully
- Introduce new elements gradually to maintain interest.
- Be mindful of frequency ranges – avoid having too many elements competing in the same range.
Remember: Less is often more. Every element in your track should serve a purpose.
Mixing Techniques: Bringing Your Tracks to Life
Mixing is where the magic happens. It’s the process of balancing and enhancing the individual elements of your track to create a cohesive whole. Here are some fundamental mixing techniques to get you started:
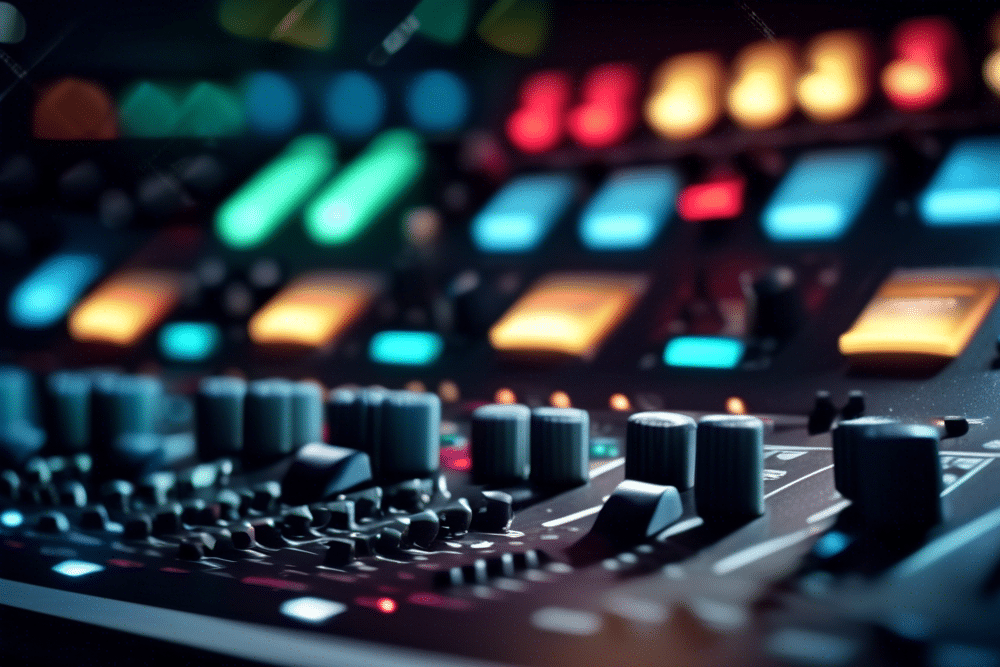
EQ (Equalization)
- Use EQ to carve out space for each element in the frequency spectrum.
- Cut unwanted frequencies before boosting desired ones.
- Be subtle – small changes can make a big difference.
Compression
- Use compression to control dynamics and add consistency to your tracks.
- Start with a low ratio (2:1 or 3:1) and adjust from there.
- Pay attention to attack and release times – they can dramatically affect the character of the sound.
Panning
- Use panning to create width in your mix.
- Generally, keep low-frequency elements (kick, bass) centered.
- Create stereo interest by panning similar elements slightly differently.
Effects
- Use reverb and delay to create depth and space.
- Be careful not to overuse effects – they should enhance, not overpower.
Gain Staging
- Maintain proper levels throughout your mix.
- Use volume automation to highlight important elements.
Sound Design Basics: Creating Unique Sonic Textures
Sound design is where you can really let your creativity shine. It’s about creating new and interesting sounds that set your music apart. Here are some techniques to explore:
Synthesis
- Experiment with different types of synthesis (subtractive, FM, wavetable, etc.).
- Start with basic waveforms and learn how to shape them.
- Use modulation to create movement and interest in your sounds.
Sampling
- Record and manipulate everyday sounds to create unique textures.
- Experiment with pitch shifting, time stretching, and layering samples.
- Don’t be afraid to get creative – some of the most interesting sounds come from unexpected sources.
Effects Chains
- Combine multiple effects to create complex, evolving sounds.
- Try using effects in unconventional ways (e.g., distortion on a pad sound).
- Automate effect parameters for dynamic sound design.
To learn how top Hardstyle producers craft their signature energy, dive into our comprehensive guide on What Is Hardstyle Music to explore the genre’s sound design and arrangement principles. When you’re ready to add genre-authentic sounds to your tracks, browse our Hardstyle Sample Packs for kicks, leads, and FX crafted specifically for Hardstyle production.
Mastering for Beginners: The Final Polish
Mastering is the final step in music production, where you prepare your track for distribution. While professional mastering is often recommended, understanding the basics can help you improve your mixes. Here’s a simplified mastering process:
- Gain Staging: Ensure your track isn’t peaking above -6 dB.
- EQ: Make subtle adjustments to enhance the overall tonal balance.
- Compression: Apply gentle compression to glue the mix together.
- Stereo Enhancement: Carefully widen the stereo image if needed.
- Limiting: Bring up the overall level of the track without introducing distortion.
Caution: Mastering is a complex skill that takes years to master (pun intended). When in doubt, consider hiring a professional mastering engineer for important releases.
Workflow Tips: Maximizing Your Productivity

Developing an efficient workflow is crucial for turning your ideas into finished tracks. Here are some tips to help you stay productive:
- Set goals for each session: Know what you want to accomplish before you start.
- Take regular breaks: Fresh ears are crucial for making good decisions.
- Create templates: Save time by creating project templates with your go-to tracks and plugins.
- Experiment freely: Don’t be afraid to try new things – happy accidents often lead to great ideas.
- Finish your tracks: Resist the urge to constantly start new projects without finishing others.
Video: 10 Music Production Tips for Beginners
Conclusion: Your Musical Journey Awaits
Congratulations! You’ve taken the first steps on your music production journey. Remember, learning to produce music is a lifelong process – even the pros are constantly learning and evolving. Be patient with yourself, stay curious, and most importantly, have fun!
As you continue to grow as a producer, keep these key points in mind:
- Practice regularly: The more you produce, the better you’ll become.
- Listen critically: Analyze the music you love and try to understand how it was made.
- Collaborate: Working with others can help you learn new techniques and perspectives.
- Stay inspired: Surround yourself with music and creative people.
- Trust your ears: While guidelines are helpful, if it sounds good, it is good.
Music production is an exciting blend of technical skill and creative expression. As you embark on this journey, remember that every great producer started exactly where you are now. So plug in, turn up the volume, and let your creativity flow. Your musical masterpiece is waiting to be created!
Related Posts
FAQs
Choose a quiet, acoustically friendly space—minimize hard surfaces and outside noise before buying any gear.
Try free trials of GarageBand (Mac), FL Studio, Ableton Live, or Logic Pro X and pick the one whose workflow feels most intuitive to you.
Use a pop filter, position your mic away from reflective surfaces (or hang blankets), and record at lower input levels to avoid clipping.
Focus on gain staging, gentle EQ cuts, light compression on drums, and panning to create space—small adjustments add up quickly.
Set clear session goals, take regular breaks, use project templates, and finish one track before starting another to maintain momentum.